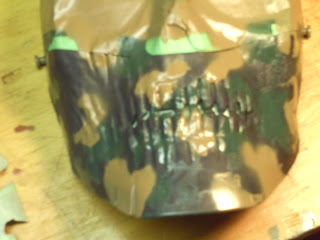
So the Mask is now fully painted, and it looks pretty good if I do say so myself. it took about 4 hours (30 minutes give or take for the paint to dry) but it was worth it. Here are the steps:
1. I applied one or my pre-cut, pre-fitted camo stencils on to the lower half of the mask and covered the Hammer. notice that the top was already covered for painting the hammer. I sprayed the mask green first
2. After waiting for it to dry, i pealed off the first stencil, and applied the second one. i then preceded to spray it brown.
3. after waiting for that to dry, I removed the second stencil. here is what the camo looks like. it kind of looks like those Chinese made toys that are painted camo.
1. I applied one or my pre-cut, pre-fitted camo stencils on to the lower half of the mask and covered the Hammer. notice that the top was already covered for painting the hammer. I sprayed the mask green first
3. after waiting for that to dry, I removed the second stencil. here is what the camo looks like. it kind of looks like those Chinese made toys that are painted camo.
4. After that, I covered the lower half in news paper so it would not get painted silver while i was painting the Hammer. i forgot to take a picture of the all silver hammer, before we prepped the handle to be painted brown, but we covered the top of the hammer with news paper so it would not turn brown.
So then i sprayed it brown.
After i waited for it to dry, i removed the news paper and the tape, and this is the final design.
And here is it on me
so thats my new mask. 


No comments:
Post a Comment