So here i am, reviewing my brothers Umarex HK p30 AEP (airsoft electric pistol)
It takes 4 AAA batteries, so mine runs the equivalent of a 4.8v 900mah battery. It shoots around 180fps(.12s, which i don't recommend you use. go to Wal-Mart and buy some supersonic .2s*) and around 180 to 240 rounds a minute on full-auto. YES. FULL-AUTO. This pistol is both Semi- and Full-Auto. you control this via a switch just in front of your trigger finger (forward for Semi-, back for Full-Auto).
Components:
Body materiel - Plastic
Slide materiel - Plastic
Magazine - plastic, Stick type
Sights - plastic, Fixed
Hop-up - Fixed
Hammer - Plastic, non-functional. (doesn't even lock back.)
Safety - Plastic, secondary trigger
Trigger & Assembly - Plastic
Internals:
Short type motor
Plastic spring guide
Plastic Cylinder
Plastic piston
Metal Gears
Plastic recoil spring guide and...
FULL OF CHEAP GREASE!
Functions:
This gun is an Electric Blow-Back. it utilizes a double third gear to fire the gun, and then push the slide back to reload.
More things:
The slide is one piece plastic, and feels pretty sturdy, and it is also black. it has an orange flash-hider, in accordance with American law, and a clear body, in accordance with Canadian law. The Slide does not lock back, and the only safety feature is that you have to press down a second trigger before it will fire.
and, with the body, the issue i have is that the lower receiver is based of the 9mm Para model
and the upper receiver is based off the .40 S&W model.
Notice how on the 9mm there is no selector switch at the back, and how the .40 has the larger hammer Besides these discrepancies, the Umarex HK p30 is a nice gun for beginners or people who just want to own their friends and their spring pistols in some lame backyard airsoft.
Stock Parts: 3/5
Compatibility: 2/5
Control: 4.5/5
Accuracy: 3.5/5
Weight: 4/5
Overall: 3.5/5
Not the greatest gun, but good for the price.
* By the way, i don't purchase my BB's at Wal-Mart, Although i used to, and i am only recommending them for this gun, or your cheap springers, NOT GOOD QUALITY GUNS.
 Some Scratching from twisting it withe pliers
 Sight folded down
 Sight Flipped up
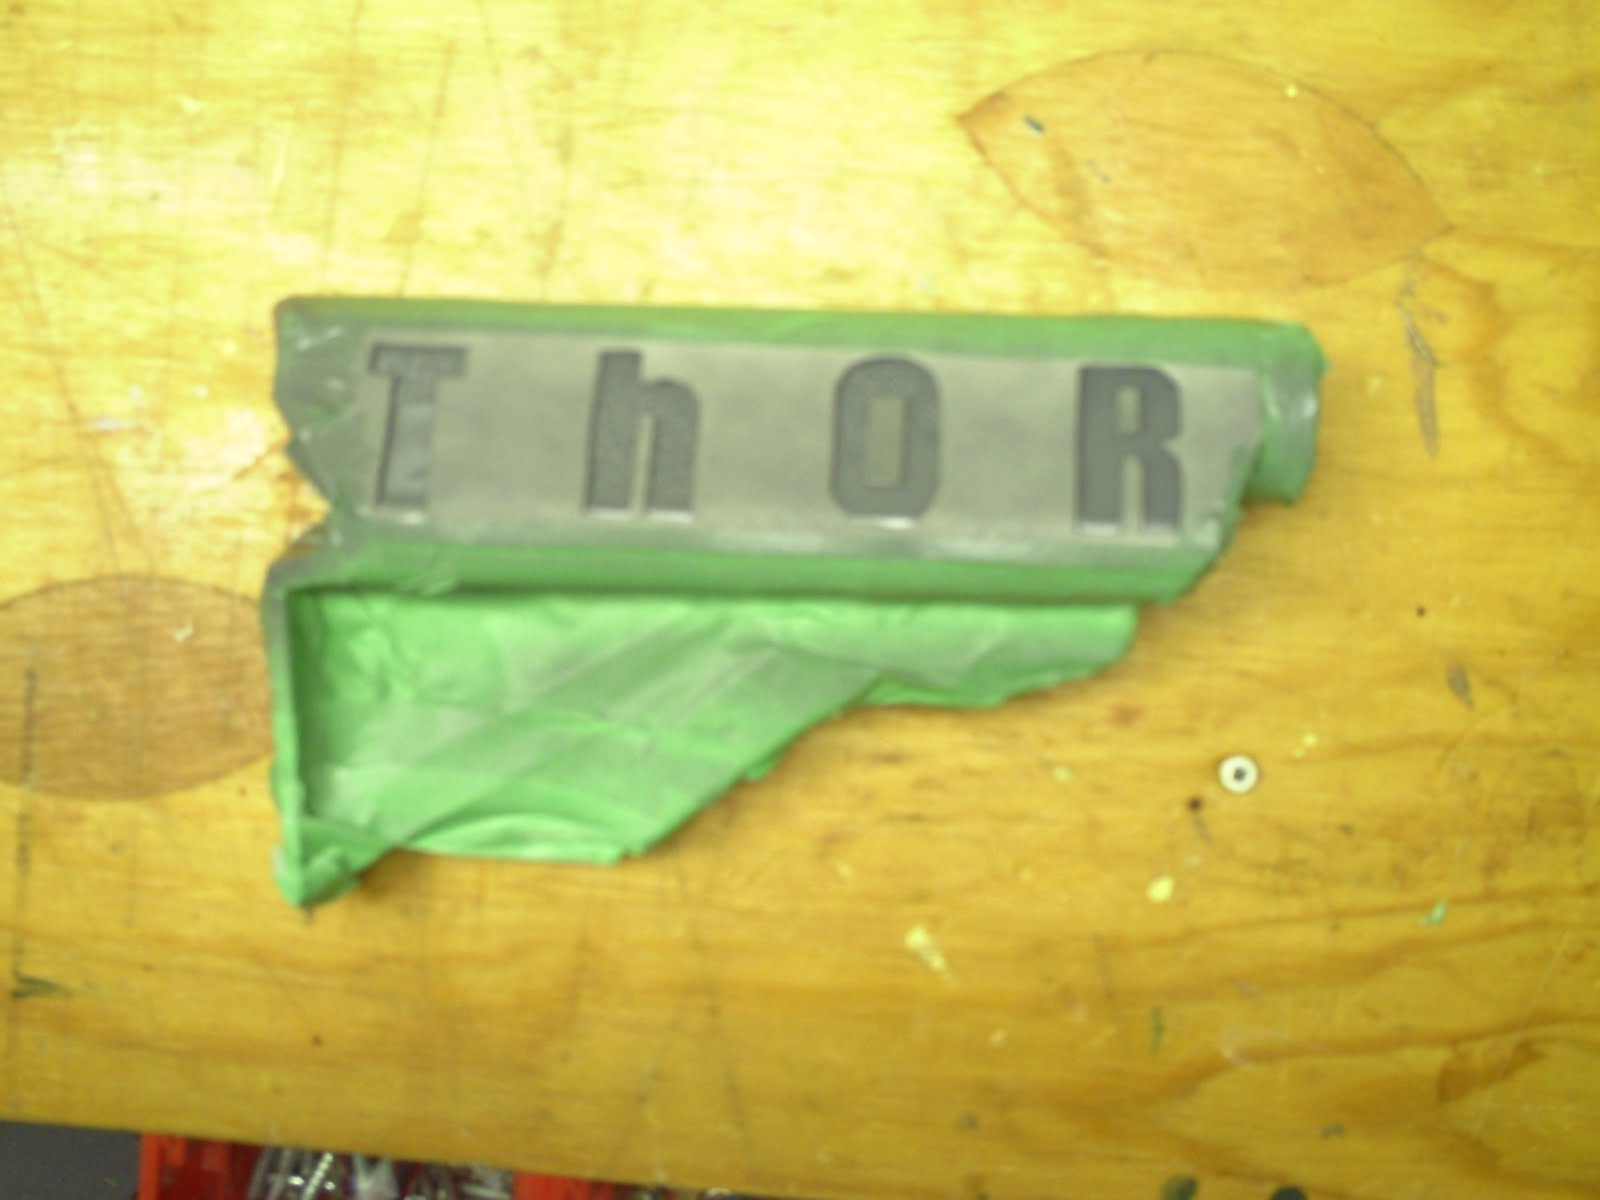
 Th0r
Th0r
 Sight picture with current Iron Sights
 Red dot
 Aimpoint Red-dot
 Tinted lower reciever
 Charging handle inscribed with Th0R
 Safe,Semi,Auto